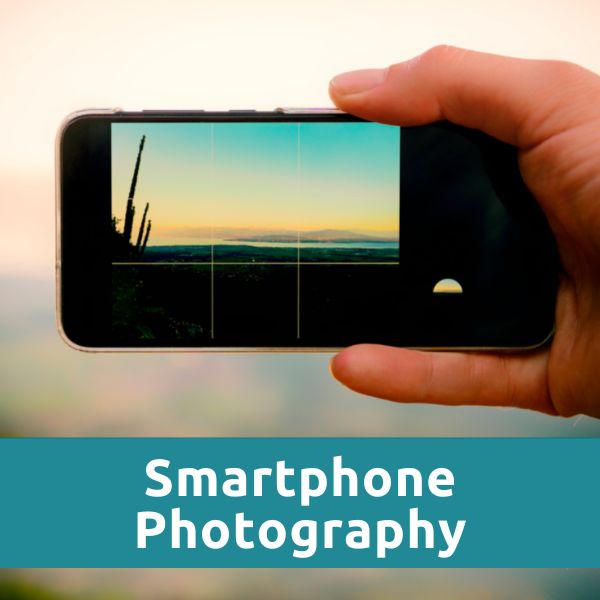
photography lessons for kids
Photography Lessons For Kids Starts Here!
Photography is a great way to introduce kids to the concepts of artistic expression and storytelling.
We've come up with 10 fun and easy photography lessons for kids sure to delight your young students, whether you're teaching from home or at school.
Here's the great news!
Photography is super easy. Literally, you just need to point the camera at a subject and press a button to produce a photo instantly.
Of course, there's a lot more to photography than pointing and shooting which you'll learn about further down.
Let's get started with 10 photography lessons for kids.
Photography lesson plans pack (Printables)
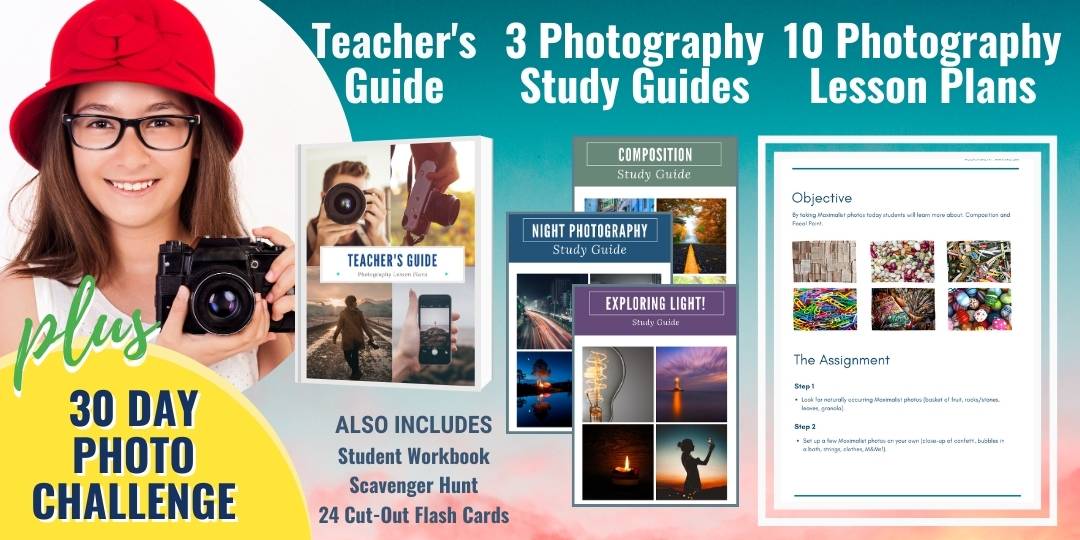
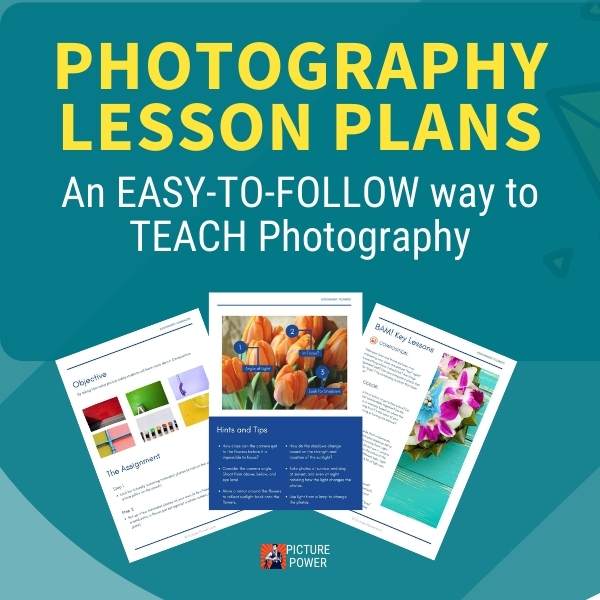
Jump right into teaching photography with our exclusive Photography Lesson Plans pack.
Includes:
- 10 Photography Lesson Plans
- 1 Teacher's Guide
- 3 Photography Study Guides
- 30-Day Photography Challenge
- 1 Student Workbook
- 24 Cut-Out Photo Flash Cards
- 1 Photo Scavenger Hunt
10 fun & Easy Photography lessons for kids

photography lessons for kids #1:
A photo scavenger hunt!
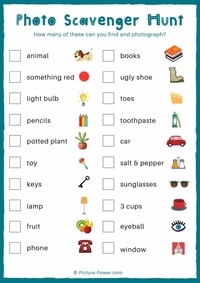
This isn't a photography lesson per se, however it's a fun and easy way to get the ball rolling and build excitement around photography.
Make a list of items in your house and print out on a piece of paper. Set the timer for 1-hour and see how many items they can photograph on the list.
Give them a prize or high-five if they get everything on the list in the allotted time!
Here are a few examples of what could be on the photo scavenger list:
- Take a photo of something red
- Take a photo of an animal
- Take a photo of someone's toes
- Take a photo of something with shadows (a plant, toy or other object)
- Take a photo of something super close-up

photography lessons for kids #2:
"Light study: take a photo every hour"
The goal of this photography lesson is to introduce your students to lighting.
Make sure you've got a full day set aside for this one.
Place a toy in a window and take a picture of it (from the same spot) once every hour. The light, colors, and shadows of the toy will change as the sun moves across the sky.
The most noticeable differences in light, shadows, and colors will happen the first four hours after sunrise and the final three or four hours before sunset.
After the Shoot:
Review the photos with your student. Have them describe the differences they see in each of the pictures.

photography lessons for kids #3:
"Make a light box"
A light box is exactly what it sounds like. It's a box that lets light in. It's a great way to photograph toys or anything you may want to sell online.
The great thing about a light box is the many ways you can adjust the ways light goes into the box. By doing this (moving lights around) your students can begin to see how they can control and manipulate light to achieve specific results.
Check out the video below to see how you can make a light box.

Photography lessons for kids #4:
"Tell a story with a photo"
Telling stories with photos is something everyone should be able to do.
When done right, sharing a photo or a few photos can tell a story that gets the message across and leaves the viewer some room to make their own determinations about the story being told.
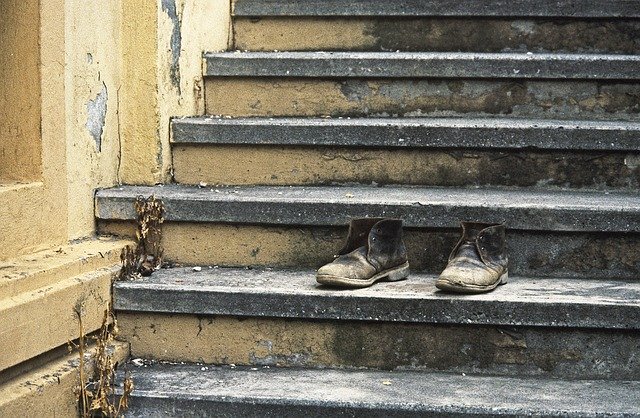
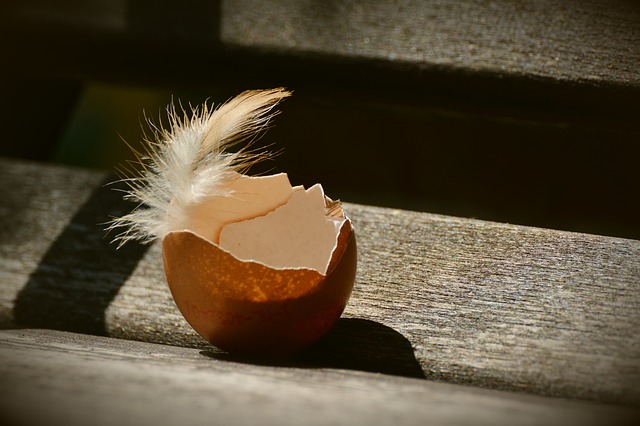
Using anywhere from 2 to 5 photos have your student take two sets of photos that convey a message or tell a story.
The first photo-story should be of something found around the house or in the yard.
The second photo-story is created using unique items from around the house and meaningful placement of those items in the photo.
After the Shoot:
Have your student share the story behind the photos. Have them explain how they decided to compose their photos and how they used light to make the story dramatic.

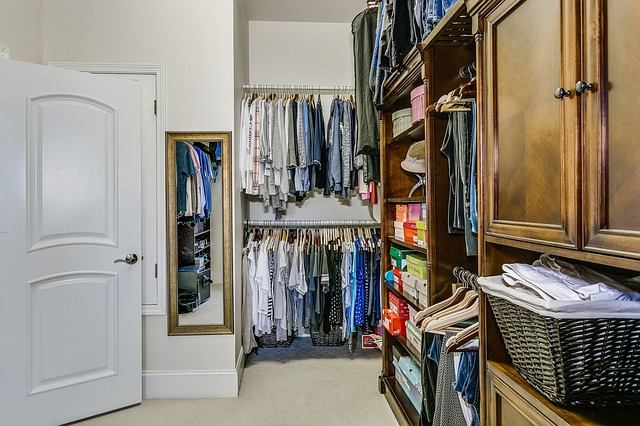
photography lessons for kids #5: "photograph inside a closet with light on & off"
Have your photography student go into a closet with the lights off then close the closet door and take a picture.
Next, have your student take a picture in the closet with the lights on.
Compare the two photos.
OK. That's an exaggerated lesson to prove a point. But it does prove that light plays a big part in photography.
After this simple lesson, your student will have no problem immediately recognizing how important light is to photography.


photography lessons for kids #6:
"Close-up vs wide shot"
Have your student place a toy on a table. Ask your student photographer to walk to the other side of the room and take a picture of the toy.
Next, have your photographer walk back to the table and take another picture of the toy.
Compare the two photos.
Another exaggerated lesson point. But it does make clear that where the camera is is important.
When your students ask, "What can I do to make my pictures better?" you can almost always respond with, "Get closer. Move in some more."


photography lessons for kids #7: photograph a person's face next to a window
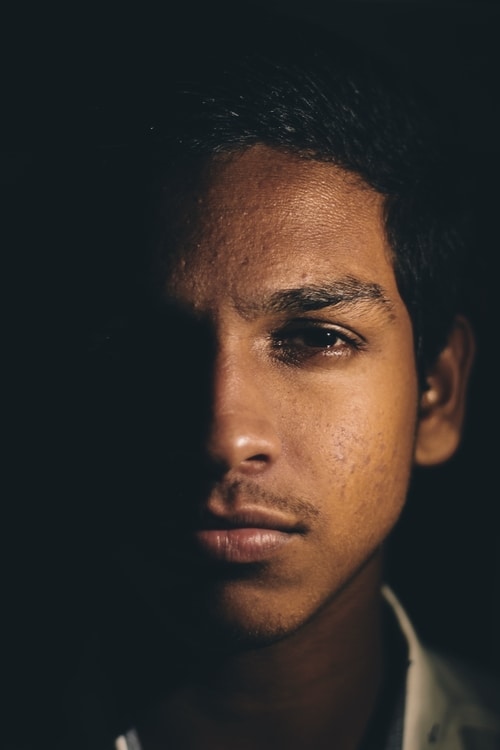
This is a great photography lesson to understand light, shadows and contrast.
Remember the lesson of taking a photo every hour of a toy in a window? Now, have your student take photos of a person sitting next to a window throughout the day.
Take the photos from different angles and move the person around to create different shadow affects. Have the person move closer to and farther away from the window to increase and decrease the amount of light.
How does the "mood" change as the lighting and angles change?

photography lessons for kids #8:
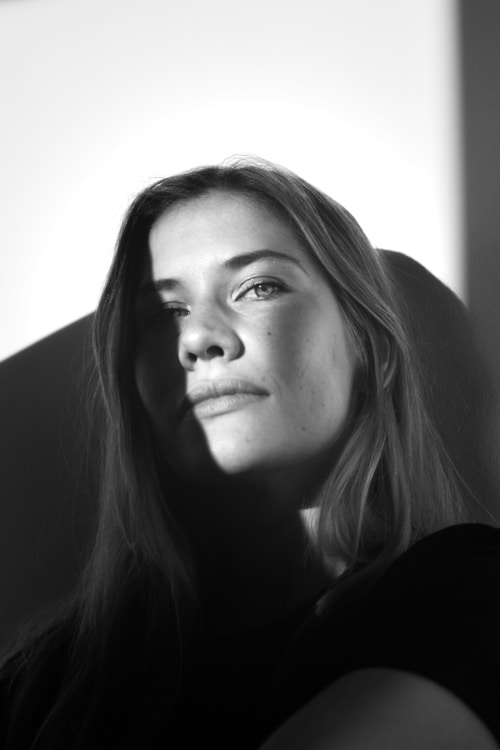
Shoot in black & white (B&W)
Take the same photo in both color and black and white.
Notice how the contrast and composition of the photo will likely look different.
Have your student write down everything that looks different when comparing the two photos. Ask them to describe how the different colors in the color photo look when turned into black and white.
And compare how each photo makes them "feel". Have them describe the mood of each photo (color vs black & white).


photography lessons for kids #9:
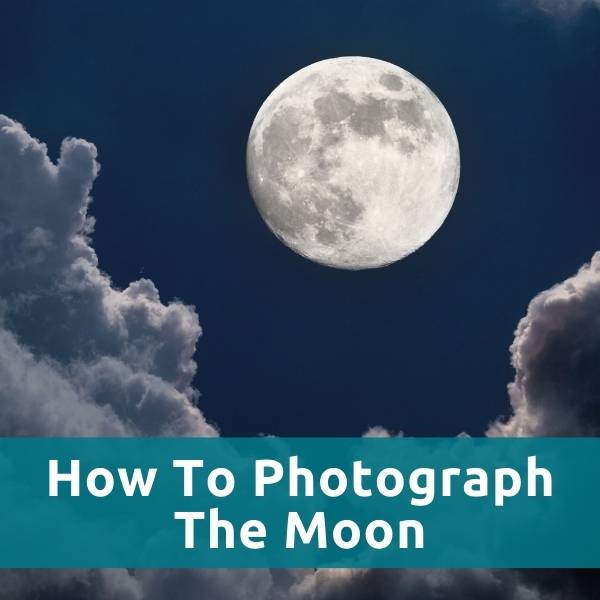
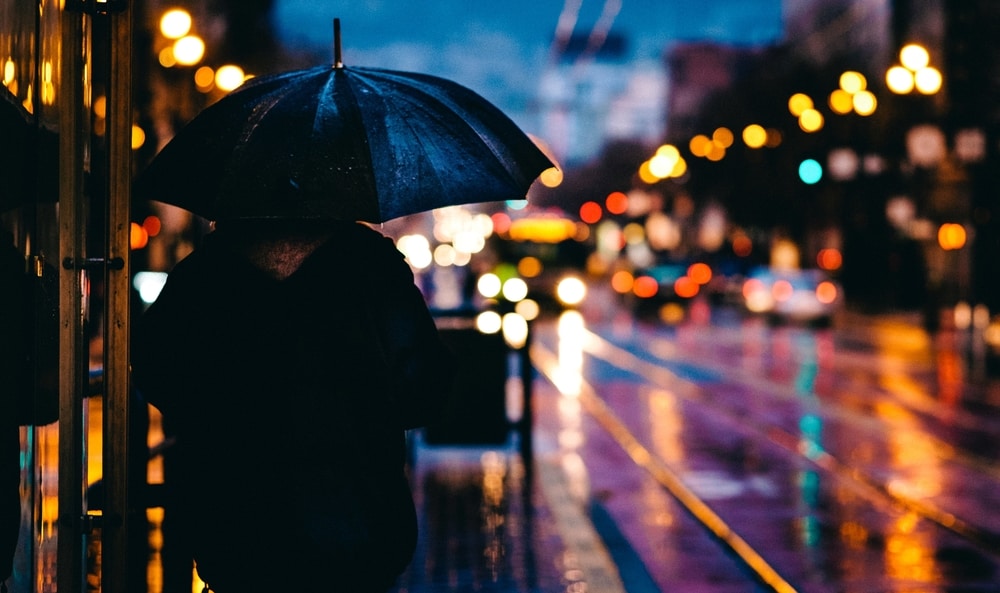
take a night photo
This might be your student's most difficult photography lesson of them all!
Taking photos at night can be one of the most challenging types of photography. Depending on what type of camera you're using, you may need to put your camera into manual mode and adjust the settings.
The challenge is often that the subject of the photo is in the shadows. One way to resolve this is to simply move your subject, if you can, to an area that has better light.

Photography lessons for kids #10:
re-create a favorite photo
This is one of the fastest ways to learn about photography.
Find a photo that you love and try to recreate it.
This exercise will force the student to study intently all the elements of the photo and what makes it great including lighting, composition and content.
Photography lesson plans Pack
Want more photography lesson plans for kids? You're in luck!
Check out our mega pack of lesson plan pack with assignments, teachers guide, flash cards and much more!
Learn more about our exclusive Photography Lesson Plans Pack for Teachers and Kids by clicking the button below...
