Digital Photography Terms
Overexposed
Are your pictures coming out with lots
of white space? Are objects in your pictures being devoured by bright
lights? Your pictures may be overexposed. Read on to find the cure.
What Is Exposure?
To understand what overexposed means, you first need to understand the basic concept of exposure.
In short, exposure is light hitting your camera’s sensor. The sensor is exposed to light via the camera lens when the camera's shutter opens.
As a photographer you have ultimate control over how much light is actually allowed to hit the sensor when the shutter opens.
You can control the amount of light being exposed to the camera sensor by changing your ISO setting, by changing your aperture setting and by changing your shutter speed.
These three settings (and how they are used together) create your exposure setting.
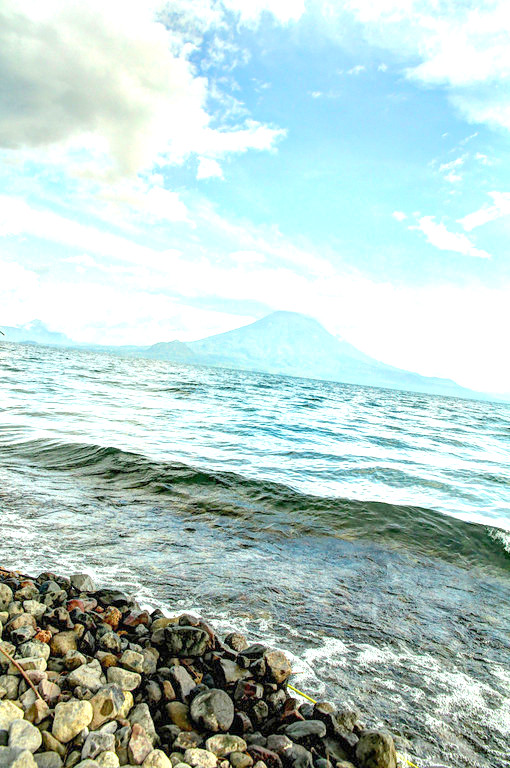
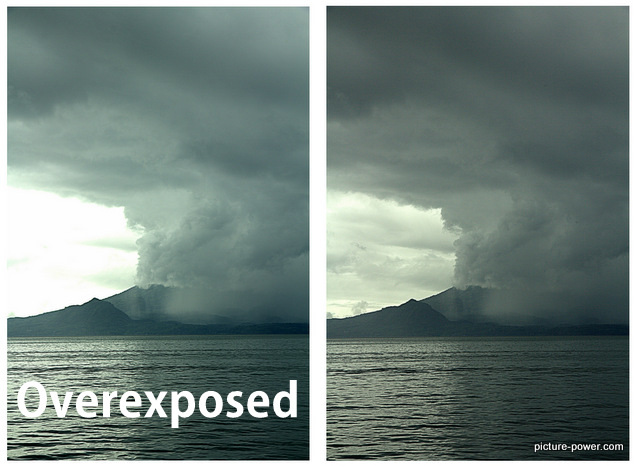
If parts of your picture are being blown out by white light (meaning that something seems to disappear into the white) you have overexposed for the picture or at least the part of the picture that is blown out or overexposed.
Areas in your picture that are overexposed have no data.
No amount of post-processing will get that cloud back if it is overexposed.
This is why it is important to not overexpose your image. An overexposed area of your picture means that you did not record everything in your composition.
To get rid of all that blown out white space and to keep items within your composition from disappearing into the white, you can change your exposure settings by decreasing your ISO, stopping down (narrowing) your aperture (changing your f/stop to a higher number), and you can use a faster shutter speed.
Adjust Your Aperture
To decrease the amount of light being exposed to the camera sensor you can stop down (narrow) your aperture setting. To "stop down" means to increase the f number in your aperture setting.
If you are having overexposure issues try changing your aperture to a higher f/stop number. This will close the aperture on the lens and that will prevent some light from coming through the lens and onto the camera sensor.
There's much more to know about Aperture.
To help decrease the amount of light being exposed to the camera sensor, you can increase the shutter speed or decrease the ISO if you don’t want to (or can’t) set your aperture higher.
Adjust Your Shutter Speed
When you increase your shutter speed you shorten the amount of time that the shutter is actually open. For example, a shutter speed of 1/60th of a second allows the shutter to remain open longer (allowing in more light) than a shutter speed of 1/2500th of a second.
Using a faster shutter speed will decrease the amount of light that hits the sensor and as a result you will get a darker picture.
Learn more about Shutter Speed.
Adjust Your ISO
When you decrease your ISO your images will get darker. Additionally, as you decrease your ISO setting you decrease the amount of noise in your picture. Typically, DSLR cameras (and most point and shoot cameras) provide you with a low ISO of 100.
Other cameras may go as low as ISO 50. Keep in mind, as you decrease the ISO you are decreasing the sensor's sensitivity to light. It will take much more light to expose a well balanced image when you shoot at low ISO settings.
And there is even more to know about ISO.
Still Too Bright? Try A Filter.
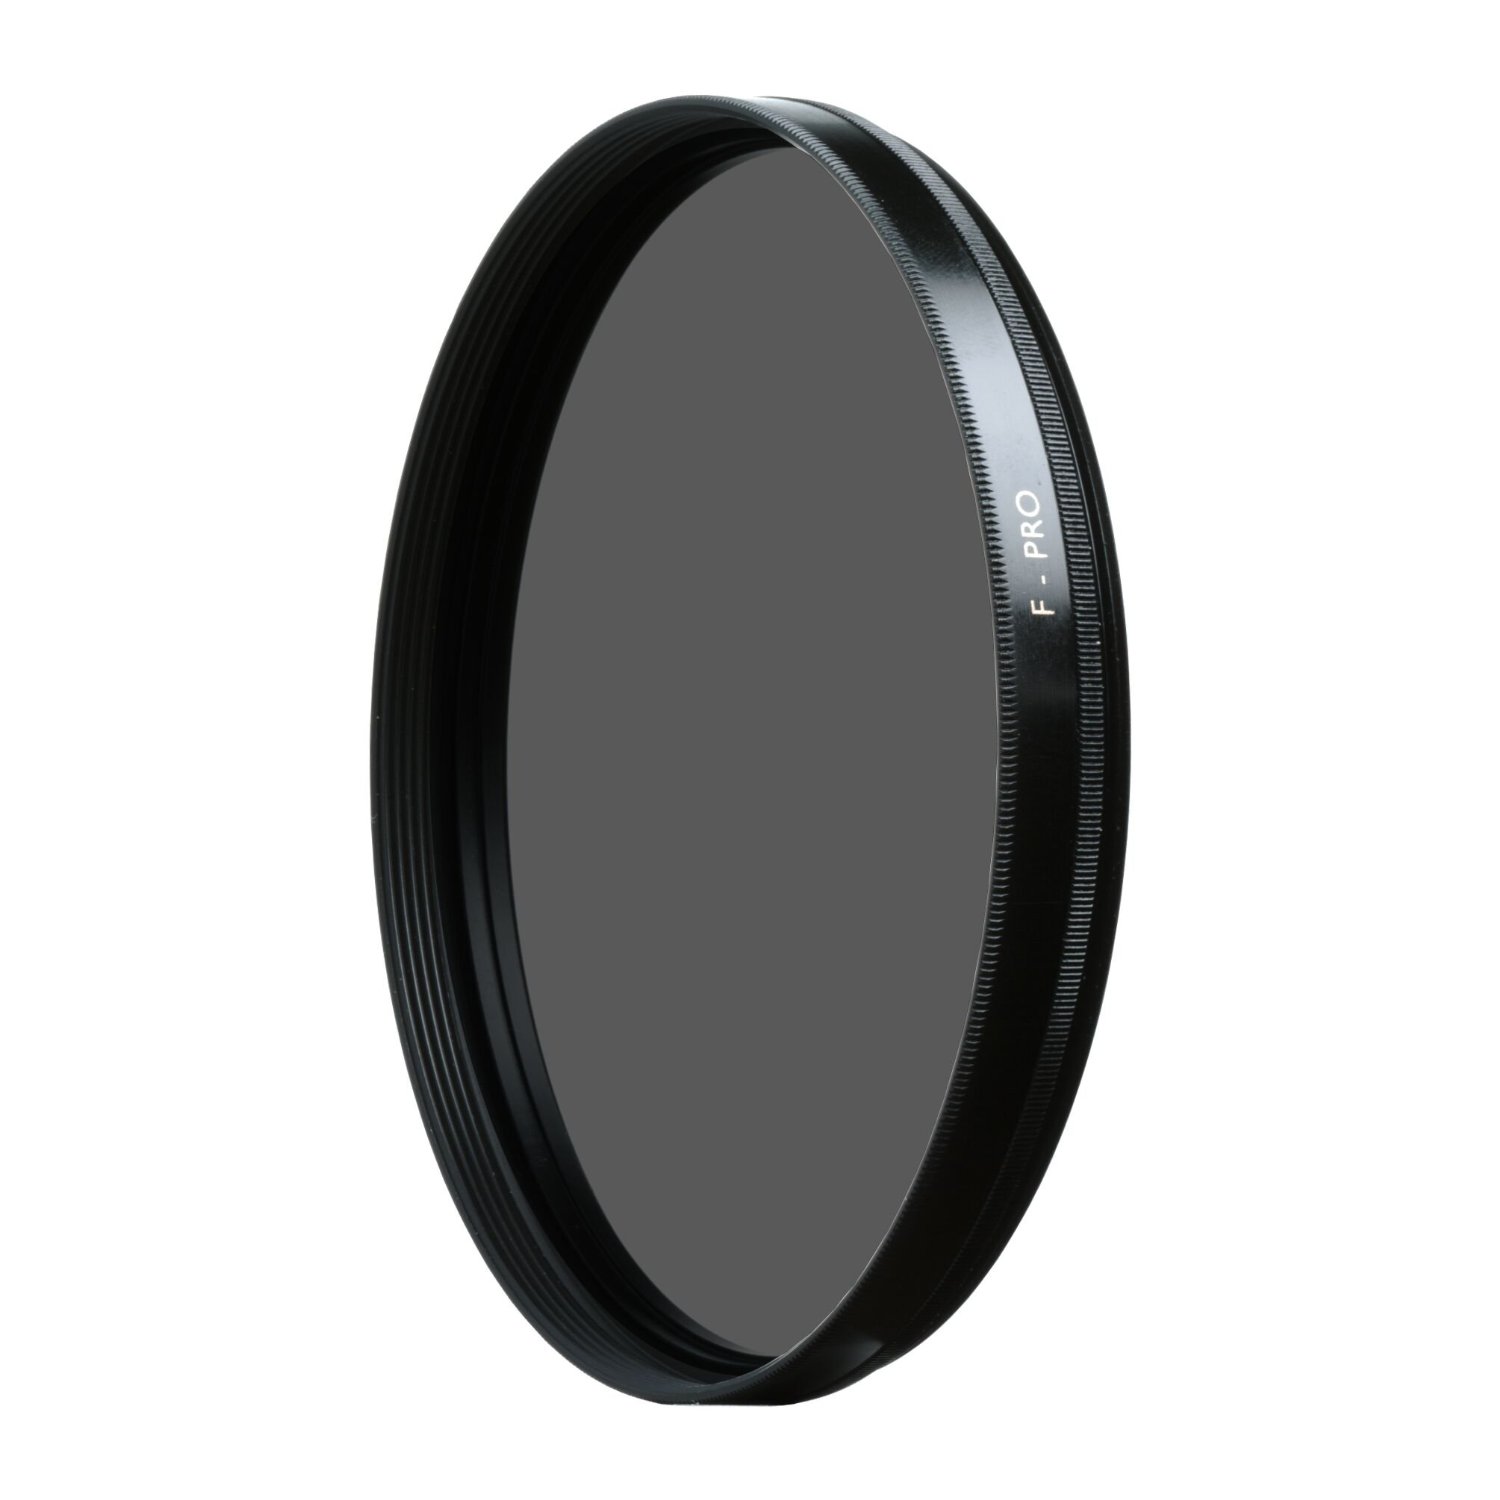
If your image is still coming out too bright and you are using the fastest shutter speed your camera has and you are unable (or unwilling) to close your lens’s aperture (increasing your f/stop) and you are at your camera’s lowest ISO setting, you need a ND or Polarizing filter.
ND and Polarizing filters are sometimes used when you want a slower shutter speed to blur movement within your frame but you have too much light to use a slower speed without overexposing.
Pictures where you see a waterfall or river and the water (due to its movement either off a cliff or down the river) is blurred – that can be done by using an ND filter to block light so that you can use a slower shutter speed to blur the water’s movement.
At night, you wouldn't need to use such a filter because you would naturally be able to use a longer shutter speed because you are not fighting the sun.
Read Your Histogram
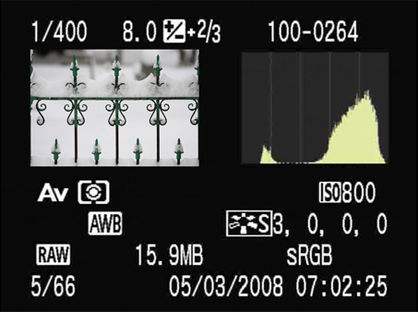
I set my camera picture review options to show me overexposed parts of my picture. This is done by flashing black in the white areas that are overexposed.
For example, if I took a night picture of a street scene it is likely that the street lights would be overexposed.
This would be unavoidable as I have to have enough light to expose for the dark street area.
My histogram will confirm this overexposure by flashing in the areas where there is no data.
As I review my picture on camera, there would be a black and white flash in the spot where the bulbs are on the street light. I have overexposed that area of the picture but had no choice if I wanted to get the shot.
Depending on how bad (or big) the overexposed area is will determine whether or not I keep that photo.
If the overexposed area is distracting, the picture will likely be deleted or not pass further inspection.
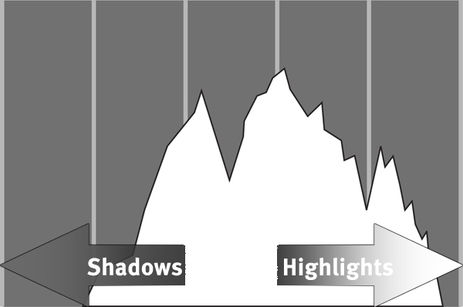
Looking at the histogram of your picture is like looking at the picture’s x-ray. Or maybe it’s like reading your picture’s DNA.
In either case, your histogram takes your picture and shows it to you in ways that show no regard for what you see in the picture.
It’s easiest to overexpose your pictures during the brightest parts of the day. That’s because those mid-day hours have the most direct light.
That’s not to say that you can’t overexpose your picture at night, it’s just that it’s more likely that having too much light is a problem more often seen in the day light hours.
Good is not Great
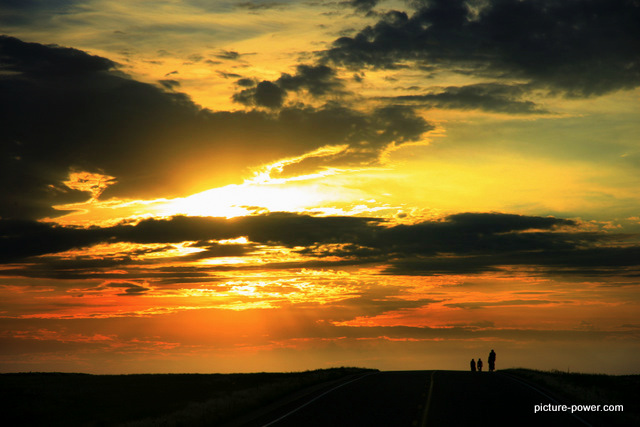
What prevents this picture from being great is the overexposed area in the clouds. There is no data in that white area and no amount of editing can bring it back. Therefore, technically speaking, it is an imperfect exposure.
The Great Light Fight
Overexposure can also be a problem when your subject and background are in different light.
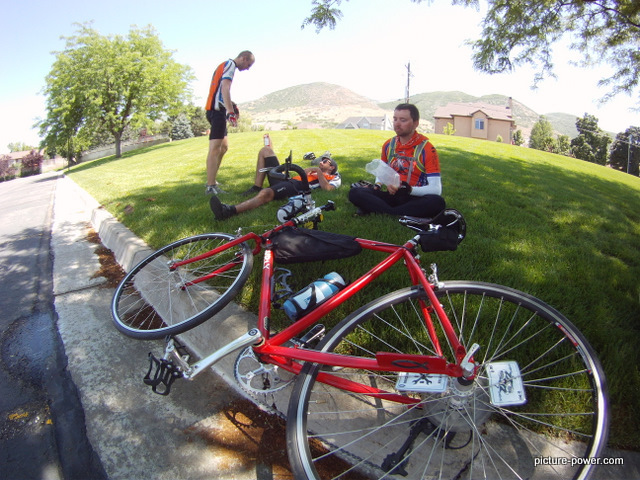
For example, if you are taking a picture and your subject is under a tree (and in its shade) and the field of pretty green grass in the background is in direct light you may have to overexpose the grass to the point where all the green is washed out in order to have the correct exposure to properly expose for your subject’s face.
Likewise, if you set your exposure so that the pretty green grass in the background looks green and pretty, your subject’s face will likely be very dark and you may even have a silhouette of your subject rather than a portrait of your subject.
The background in the picture above had to be overexposed in order to have a proper exposure for the faces.
One thing you can do to avoid this problem to increase camera height so that when you tilt the camera down you are removing the over-lit area from the composition.
This type of light fight is hard to win. But there is a way to win, you just have to do a little extra work.
You can go the way of HDR and bracket your pictures to ensure a proper and even exposure in all areas within your composition.
You can read how to do this in an article about HDR Photography. Or this article about Bracketing.
Photography Tip!
One of your goals as a photographer is to not have any overexposed areas in your pictures. If your pictures have blown out areas that are totally white, you can decrease your ISO setting, increase your shutter speed or narrow the aperture of your lens (use a higher f/stop) to overcome this overexposure.
However, just because part of your photo may be overexposed doesn't mean it's not usable. For example, if you take a picture of a UFO, no one will much care about a few blown out clouds!
Shoot In Raw
There is one more thing you can do to help save a picture when it is overexposed.
Let's say you did get that picture of the UFO. But unfortunately part of the UFO itself is overexposed making it very hard to see the outlines and details of our new friends' space ride. Remember, those areas that are overexposed have no data in them.
If you shoot in raw mode you may be able to "rescue" some of that data and actually produce a picture that has the outlines and details of the UFO making you the most famous photographer ever.
Read more about the eternal Raw vs JPEG debate.
And see some Raw vs JPEG examples of HDR photography to see how much more detail raw files contain.
