HDR Photography
The Secret To Creating Stunning Photos
By Scott Umstattd
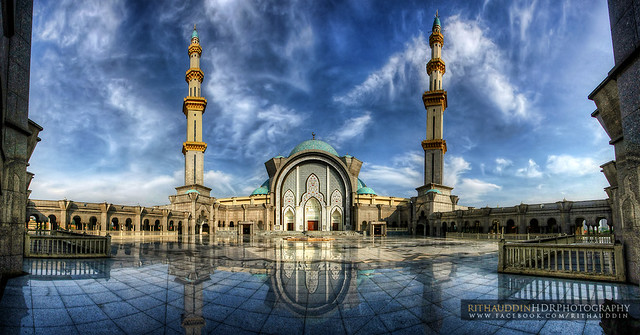
Photo Credit Flickr: Ahmad Rithauddin
HDR photography: You are seeing it
more and more. And when this digital photography technique is done well, you can’t
even notice it. So, you probably don’t even know that it is quickly
becoming a go-to option when things (and by things, I mean LIGHT) get
out of hand.
What Is HDR Photography?
High Dynamic Range (HDR) Photography is the combination of multiple images of the same composition into one picture. Each picture is exposed differently. This process is called bracketing.
The intent behind HDR photography is to capture the full dynamic range (a full and complete range of whites and blacks) into one image. Dynamic range is explained throughout this article.
To bracket a shot is to create one image that is too dark, one image that is too light and one image that is just right. With multiple pictures to work with you will get a much better dynamic range (true whites and true blacks) in your final exposure.
You can also bracket a picture with more than three images to get an even better range of colors and light in your HDR photography. No matter how many pictures you bracket with the intent is to get a wide range of exposures to better capture what your eyes are seeing and your camera is having a hard time exposing for in only one shot.
HDR photography is best used when you have a scene that has a drastic amount of light changes - pictures that have harsh light and dark shadows. If you have balanced lighting, there is really no reason to do HDR photography. As a result, bracketing and HDR photography helps the photographer overcome an otherwise unruly lighting situation.
Let's say you find yourself drawn to a composition but try as you might you cannot get the full dynamic range into one picture. To solve this we can bracket the shot.
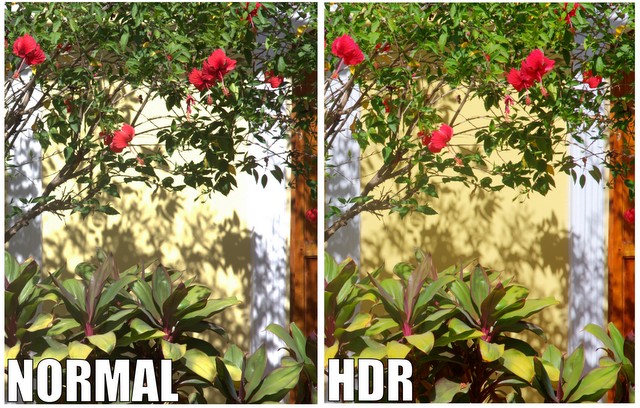
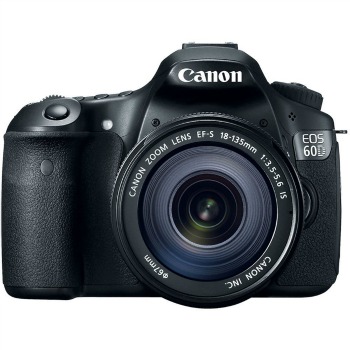
Above: The normal photo on the left was made by simply using the auto-mode setting on my Canon 60D. That gave me a balanced exposure. It compensated for the extreme white and black areas and presented me with a dull and poorly exposed picture. The HDR photo on the right was created by combining three pictures with different exposures in the HDR software program Photomatix.
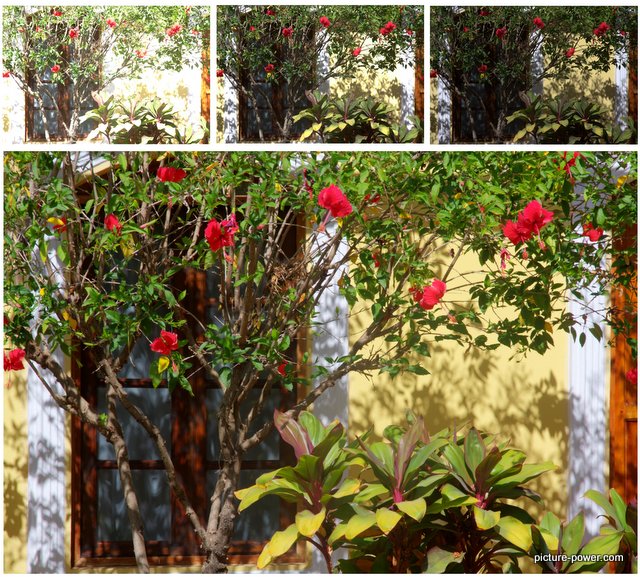
Below is a crop of the same image so you can better see the details lost in the normal picture and the details gained in the HDR image.
Above: Notice how the wall in the normal picture is washed out (overexposed) in the area behind the leaves. And take a look at the white door frame next to the door. In the normal photo the details of the lines are lost. In fact, the wall and the door frame bleed into one area of white.
In the normal photo information was lost. No amount of editing will bring back the details of the door frame or the color of the wall. By bracketing the shot I did not lose any of that information. It was all there in three shots and combined into one final picture that showed all of the information that my eyes saw.
The picture below shows what the three images used in this HDR example looked like prior to being combined in Photomatix.
This series of HDR pictures was created to help educate you on the value that bracketing can bring to your pictures. So, don't judge me on the lack of awesomeness found in this picture.
What Is Dynamic Range?
High Dynamic Range Photography is all about dynamic range. Hence, its name.
So, what is dynamic range? Simply put, good dynamic range means that your picture represents white and black equally.
Your whites are white and not blown out or overexposed and your blacks are black without being crushed or underexposed. Good dynamic range means good exposure.

Photo Credit Flickr: Dannyqu
Sometimes it becomes impossible to get true blacks and true whites out of one photograph. When you are dealing with subject matter that is both in the light and in the shadow, HDR photography shows its value.
You cannot expose for both dark and light in one image if there is an extreme difference between the two. You have to expose for one or the other and deal with the loss of true white or the loss of true black.
Or, you could expose for the middle and try to make both the white and the black areas of your picture happy. But in exposing for the middle your image will be dull. Please, don’t take dull pictures. Show us some power!
HDR Is Like Magic
According to a study taken at the transmission shop down the street this morning, billions of crappy photos are uploaded to the WWW every day. HDR photography is an easy way to eliminate your dull picture problems. But, don’t overuse it.
There are plenty of crappy HDR photographs within the 56 million images that were uploaded while you read this. Just because you HDR'd your picture doesn't mean it's a good picture. HDR photography is like photo magic. Be a good magician and use your tricks in good measure.
While HDR can seemingly perform miracles it cannot fix a fundamentaly flawed photo. Always practice good composition and use your own HDR techniques with a delicate touch.
Like these photographers...
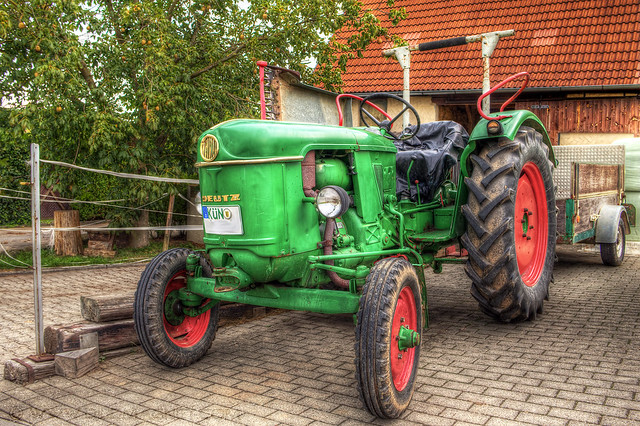
Photo Credit Flickr: Magnetismus
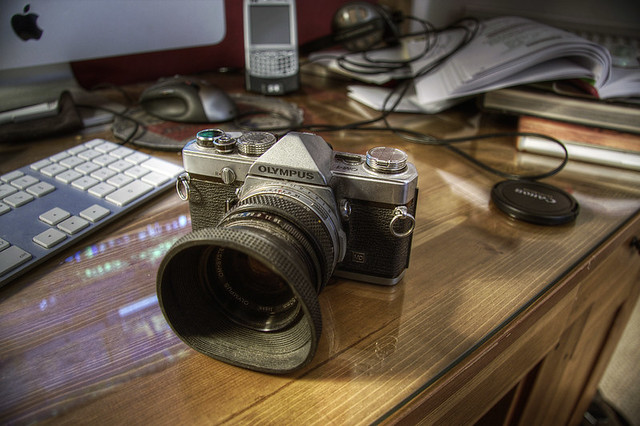
Photo Credit Flickr: Sam Stimpson
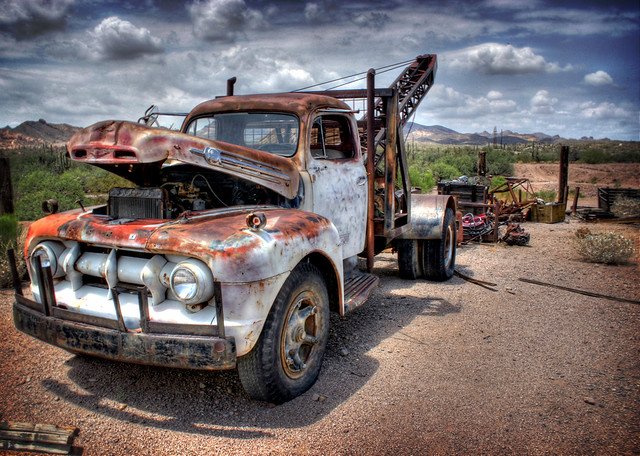
Photo Credit Flickr: Cody
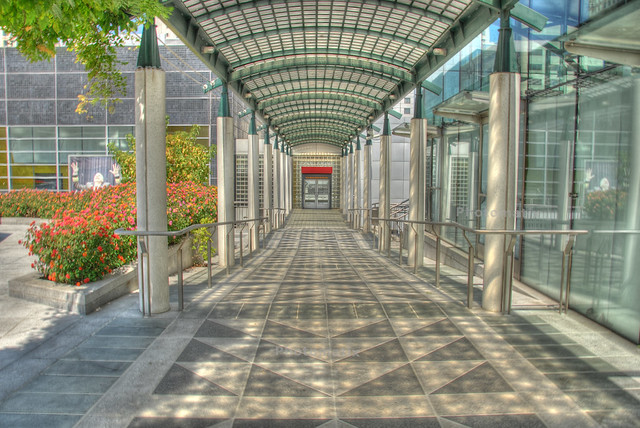
Photo Credit Flickr: Tinou Bao
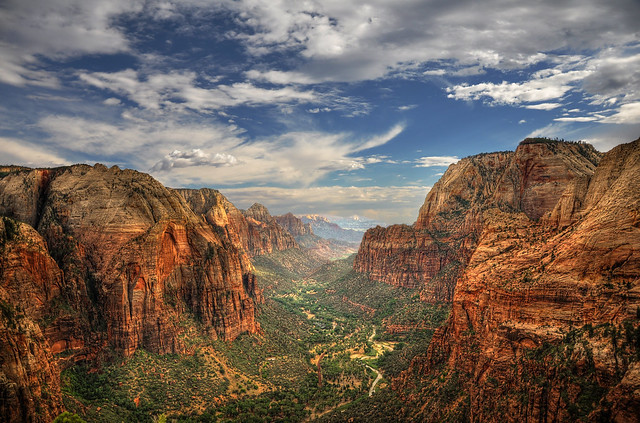
Photo Credit Flickr: Ben Jackson
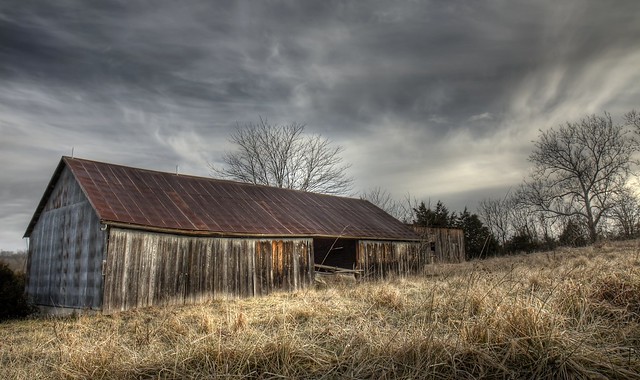
Photo Credit Flickr: Roy Niswanger
HDR Photography Software
I use Photomatix when I need to bracket a scene to create an HDR image. There is no learning curve in Photomatix. With just a few clicks you load your images (Raw or JPEG). After Photomatix merges the images together, you are presented with your HDR picture. You can then make edits to your HDR image through a slew of preset one-click creative tools that then give you further editing options.
My mom can use this software it’s so
easy. And the fact that it digests Raw images without any fuss makes
it stand out even more as a great way to easily punch up your boring
sunsets and create stunning pictures from seemingly impossible
circumstances.
HDR Photography and Ghostbusters
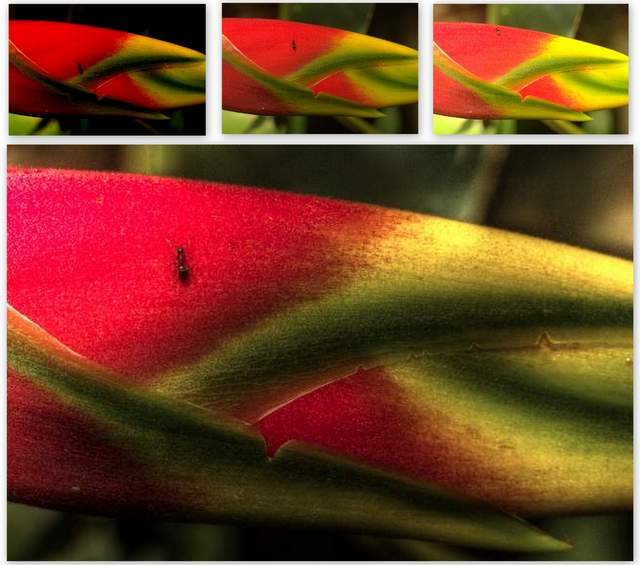
Above: Ghosting refers to the blur you get when you bracket a shot and you or your subject is moving.
Photomatix has an anti-ghosting option that eliminates any blurring. In this picture, you can see that the ant was actually in three places as I bracketed the picture.
Photomatix recognized the ant's movement and used the middle photo as its reference point. Photo taken with a Canon 60D and a Canon 15-85mm f/3.5-5.6 USM IS with a Canon EF 12 II Extension Tube.
Thanks to SLRlounge for this neat and tidy video on High Dynamic Range photography.

